Creating an Inspection Document
From ALLDATA Inspections
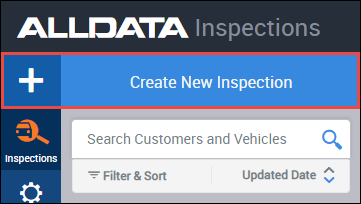
Create a new Inspection document directly from the ALLDATA Inspections app
- Click the + or Create New Document button.
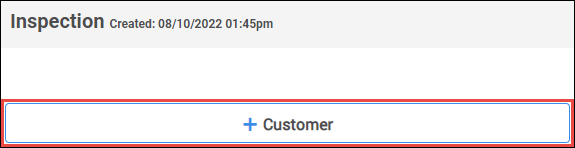
- Add a customer - From the document screen:
- Click +Customer
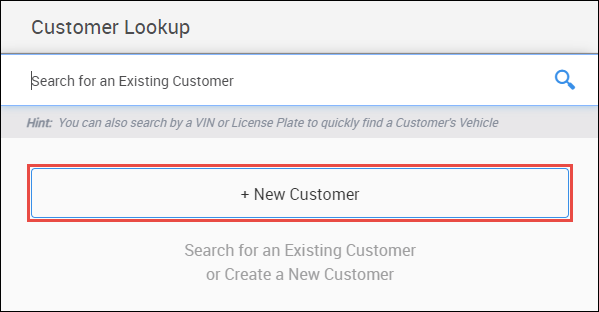
- Search for an Existing Customer or click + New Customer.
Fill out or verify customer information.
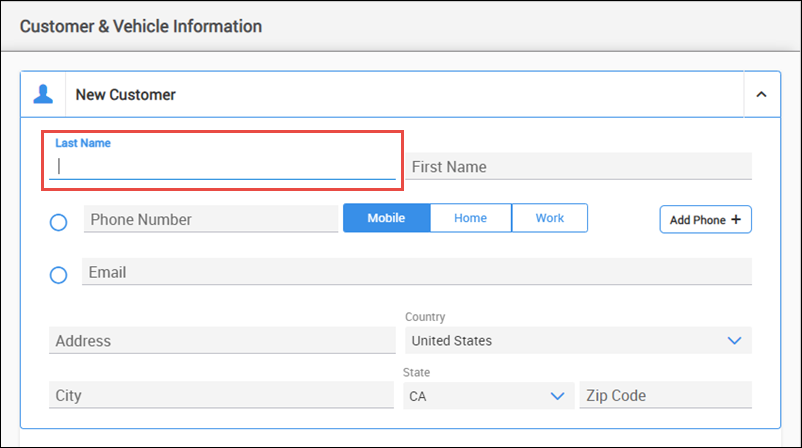
- Note: Last name is required.
- Click +Customer
- Add a vehicle - From the Customer & Vehicle Information menu:
- Choose a vehicle that has been previously assigned to the customer or click + New Vehicle.
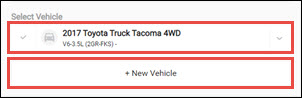
If + New Vehicle was selected:
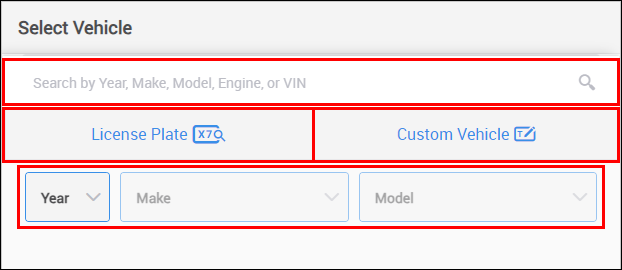
- Search by Year, Make Model, engine or VIN.
- Use License Plate lookup (Available to Shop Manager users who have enabled myCARFAX services).
- Enter License Plate number and registration State to decode vehicle.
- Manually enter a Custom Vehicle that is not part of the ACES vehicle database.
- Note: Custom vehicles will display a "NON-ACES" label and will not be connected to ALLDATA repair information.
- Select options from the Year, Make, Model dropdown.
- Choose a vehicle that has been previously assigned to the customer or click + New Vehicle.
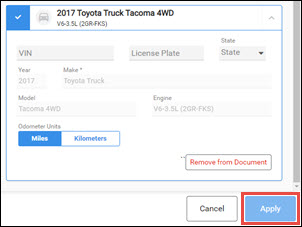
- Fill in any additional vehicle information as necessary then click Apply to add the customer and vehicle information to the estimate.
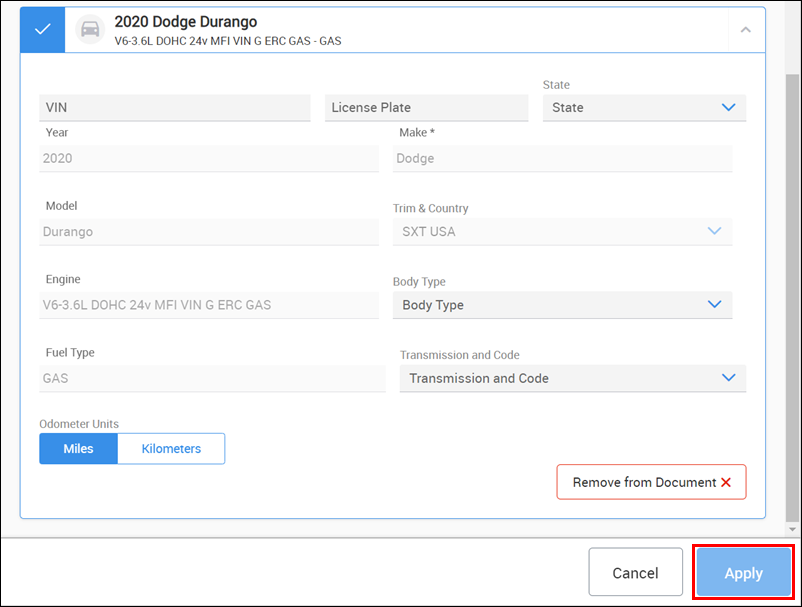
- Fill in any additional vehicle information as necessary then click Apply to add the customer and vehicle information to the estimate.
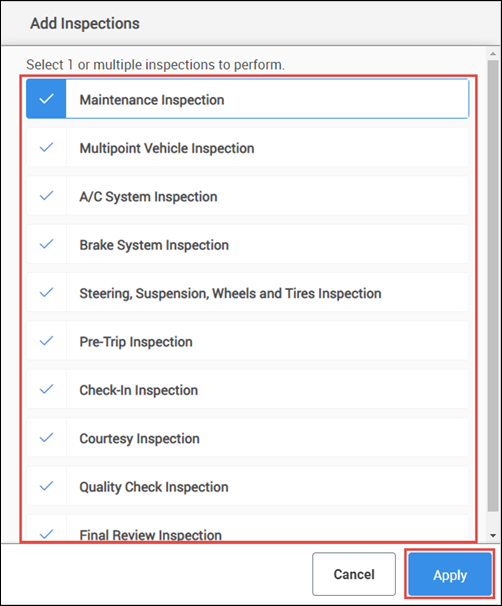
- Click Add Inspection.

- Select one or multiple inspections then click Apply.
From Shop Manager
Attach a new Inspection document to a Shop Manager document
Open an existing Estimate or Repair Order document or create a new one.
- For more information about creating documents in Shop Manager see Creating a Document
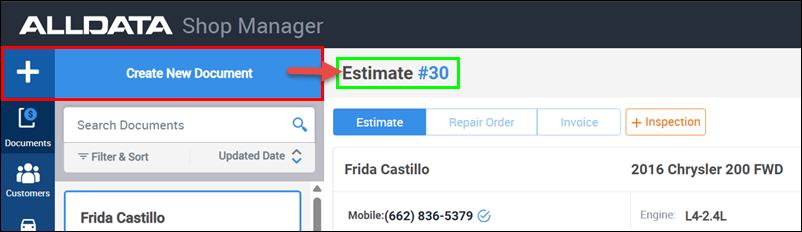
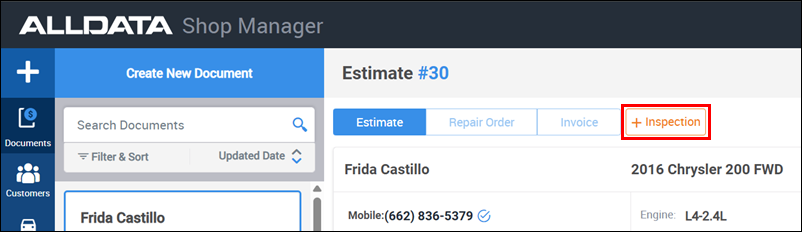
- Click the + Inspection button.
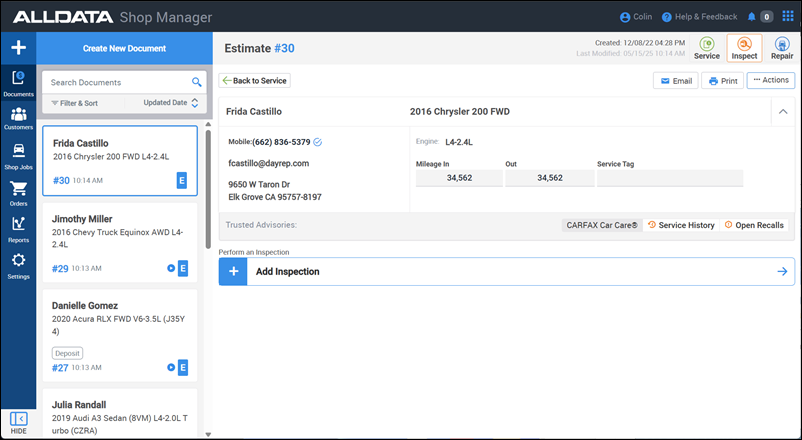
The inspection will load within the Shop Manager window.
- Notes:
- The customer and vehicle information for the selected Shop Manager document will carry over to the new inspection.
- Inspection documents created in Shop Manager will also be available immediately in the ALLDATA Inspections desktop and mobile apps.
- Notes:
- Click Add Inspection.
- Select one or multiple inspections then click Apply.
From Manage Online
Attach a new Inspection document to a MANAGE Online Estimate or Repair order
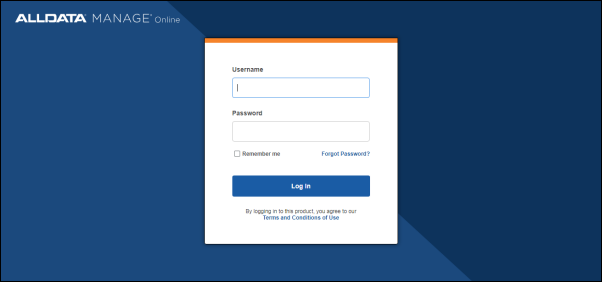
- Log in to ALLDATA MANAGE Online.
Open an existing Estimate or Repair Order document or create a new one.
- For more information about creating documents in MANAGE Online see Part1: Adding and Searching for a Customer
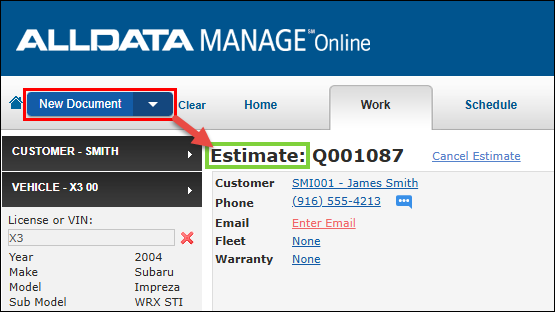
- Click the + Inspection button on the Work screen.

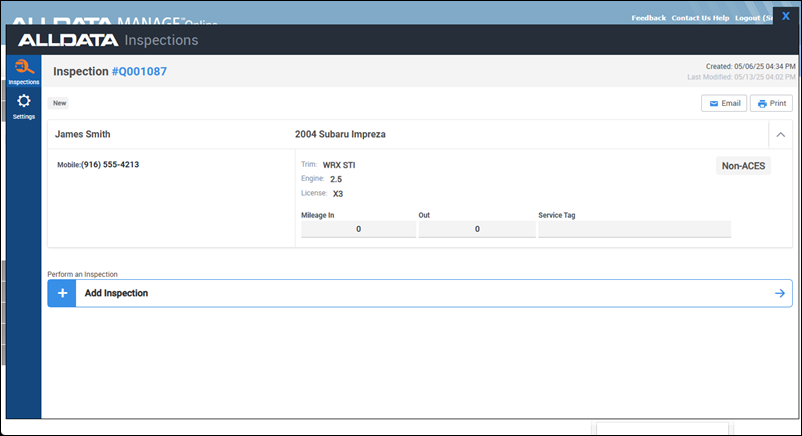
ALLDATA Inspections will load within an overlay in ALLDATA MANAGE Online.
- Notes:
- The customer and vehicle information for the selected MANAGE Online document will carry over to the new inspection.
- Inspection documents created in MANAGE Online will also be available immediately in the ALLDATA Inspections desktop and mobile apps.
- Notes:
- Click Add Inspection.
- Select one or multiple inspections then click Apply.