Setting Up and Using Core Tracking
Enabling Core Tracking
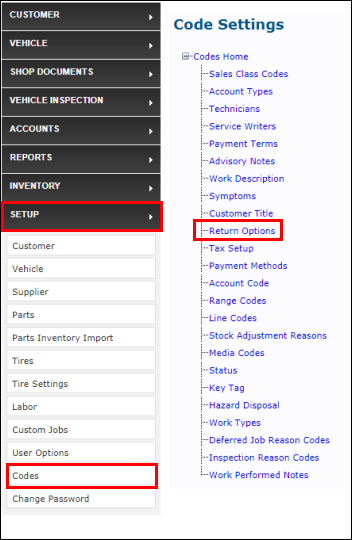
- Go to SETUP >> Codes >> Return Options.
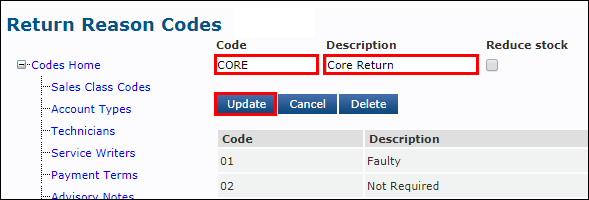
- Create a Return Reason Code for CoreReturn by entering a Code (e.g., Core) and Description (e.g., Core Return) then clicking Update.
- Verify that Enable Catalog Cores checkbox is selected >> click Update.
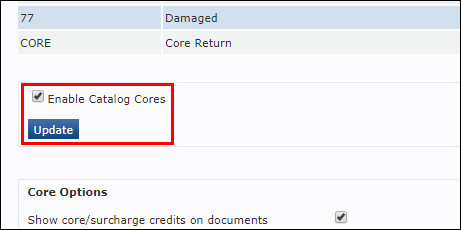
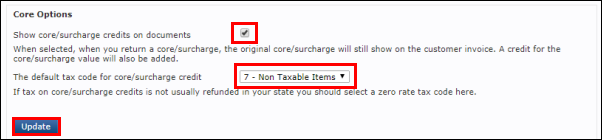
Make any necessary modifications to the Core Options then click Update:
- Show core/surcharge credits on documents - Determines whether you will leave the core charge and core return line items on the customer's printed documents.
- If this box is checked, the core charge line will not be removed from the document when deleting the core line item. Instead, a credit line will be added to the document to offset the charge.
- Note: This is required in some states.
- The default tax code for core/surcharge credit:
- Show core/surcharge credits on documents - Determines whether you will leave the core charge and core return line items on the customer's printed documents.
Adding/Removing Core Charges
Adding a core charge to an Inventory Part
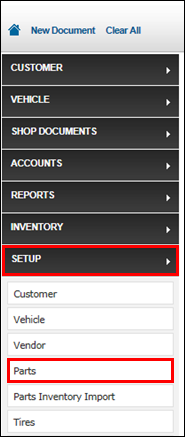
- Go to SETUP >> Parts.
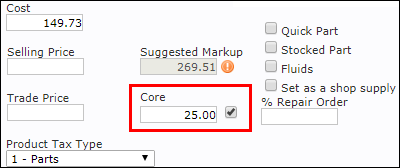
While adding or editing a part, check the box next to Core >> enter an amount to apply as a core charge >> click Update.
- The next time the part is added to a work document, the core charge will be added automatically as a separate line item.
Adding a core charge to a document from an integrated parts catalog
- Look up a part in an integrated catalog (AutoZone / Nexpart).
- The associated core charge will display under the list price.

- The associated core charge will display under the list price.
Add the part to the document.
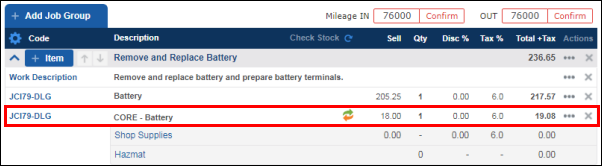
- The core charge will be added to the document as a line item along with the part.
- The linked part icon will appear on the CORE line to indicate that it is linked to another line item.
Manually Adding a Core charge to a document
- Add a part to the document
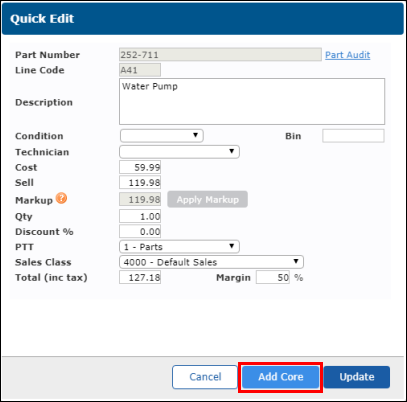
- Click the Code next to the part you want to associate with the core charge.

- On the Quick Edit screen, click Add Core.
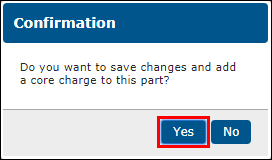
- Click Yes to confirm.
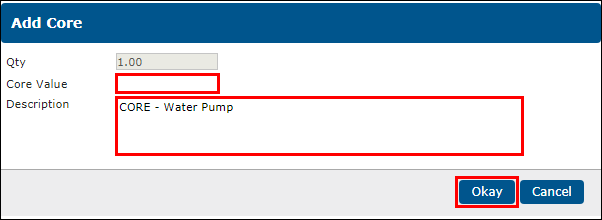
- Fill in a Core Value>> adjust the Description if necessary >> click Okay.
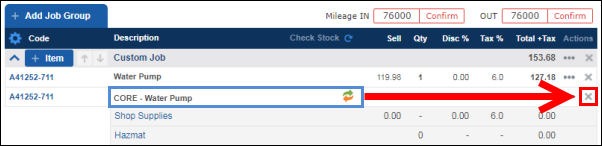
- The core charge will be added to the document as a line item along with the part.
- The linked part icon will appear on the CORE line to indicate that it is linked to another line item.
Removing/crediting a core charge
- Click delete (X) on the CORE line.
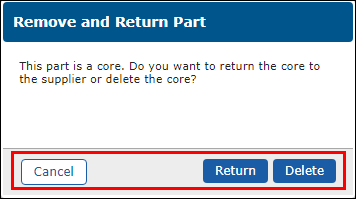
Chose one of the following:
- Delete - Remove the core charge line from the document
- Return - Add the part to the Returns Bin (continue to step 3)
- Cancel - Leave the core charge on the document
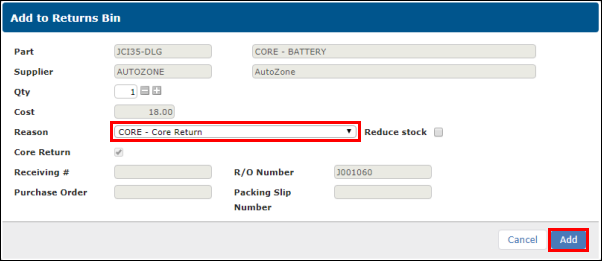
- If you selected to Return the core, the Add to Return Parts screen will appear.
On the Add to Returns Bin screen, click the Reason dropdown and select Core Return >> click Add.
- If you have checked the Show core/surcharge credits on documents box when setting up Core Options (see setup section above), the core charge line will not be removed from the document. Instead, a credit line will be added to the document to offset the charge.
- If you have not checked the Show core/surcharge credits on documents box when setting up Core Options (see setup section above) the core charge line will be removed from the document.