Adding Parts to Inventory
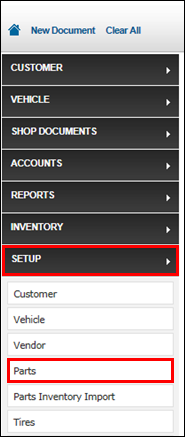
- Click Setup >> Parts.
- Fill in the following information:
Required
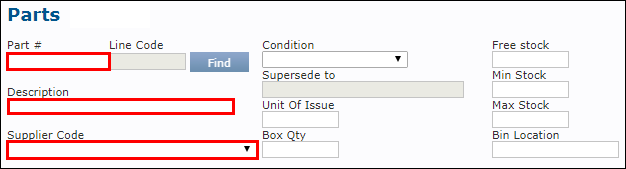
- Part #: Enter the part number that is specific to the item.
- Description: Enter a description, or the name of the part.
- Note: The Part No and Description will appear on the Invoice.
- Supplier Code: Select the supplier.
Highly Recommended
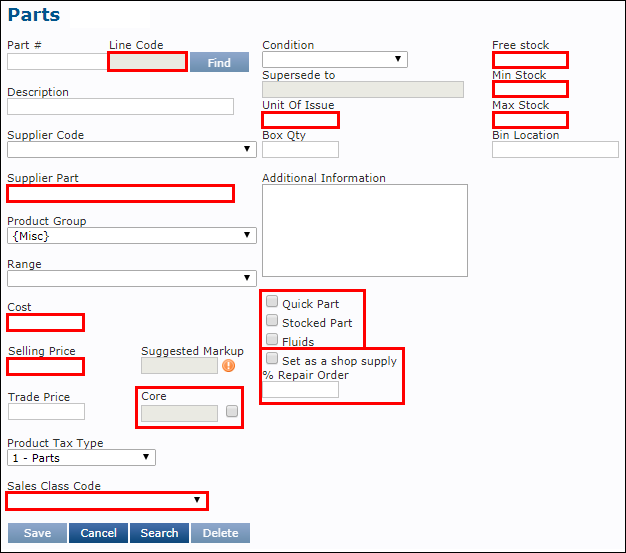
- Line Code: Better organize parts by adding a three-digit prefix to each part number. (example: AZO)
- Supplier Part: Alternate part number, if applicable.
- Cost: The price you pay for the part.
- Selling Price: The price the customer pays if no markup is set.
- Core: Check the box and enter a cost to automatically add a Core line item to the work document when adding this part.
- Sales Class Code: Separates the part into a particular class. This is useful when filing taxes.
- Unit Of Issue: Number of items per part number.
- Box Qty: Number of parts per case.
- Quick Part, Stocked Part, Fluids: Check one or more boxes to add the part to each list.
- Set as a shop supply % Repair Order: This option allows you to include the cost of this item in a pre-set shop charge.
- Free Stock: Quantity on hand.
- Min Stock: Minimum desired quantity to have on hand.
- You will get an alert when your Free Stock is below the Min Stock.
- Max Stock: Maximum desired quantity to have on hand.
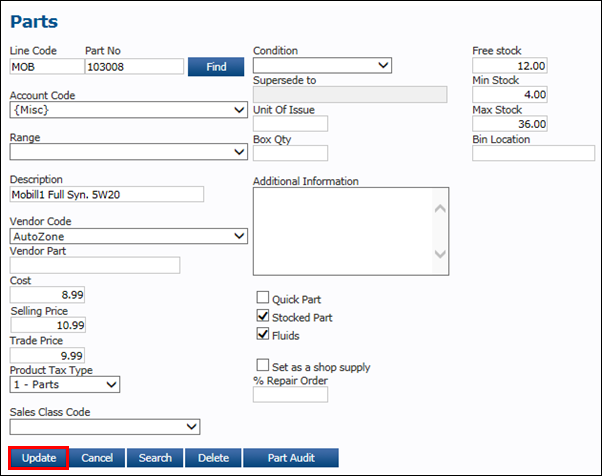
- Click Update.