Mitchell Cloud Estimating Export
Install the Estimate Utility
The first time you click Export EMS to export an estimate, you are prompted to set up the estimate utility.
- Note: If you have previously made changes to your export settings, you do not need to reinstall the export utility.
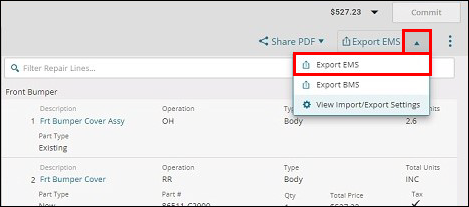
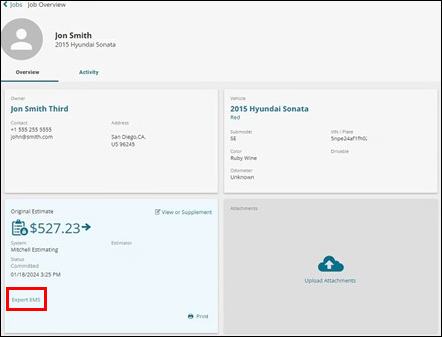
- From the Estimate page, click the arrow next to Export EMS.
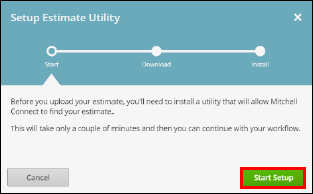
- In the Setup Estimate Utility window, click Start Setup.
- Click Download.
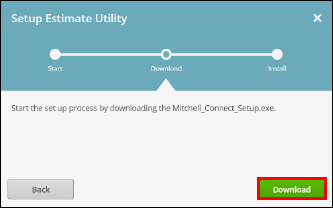
- Run the Mitchell Connect.exe file:
- Note: Install procedures vary depending on your internet browser and security settings. You may need to run the file as an administrator.
- Google Chrome - Click the Mitchell Connect.exe file that appears in Recent Downloads at the top right corner of your browser window.
- Microsoft Edge - Click Run on the security prompt at the bottom of your browser window.
- Note: Install procedures vary depending on your internet browser and security settings. You may need to run the file as an administrator.
- Follow the prompts to complete the setup in the Mitchell Connect Setup wizard.
Configure Automatic Export
- From the Estimate page, click the arrow next to Export EMS >> View Import/Export Settings.

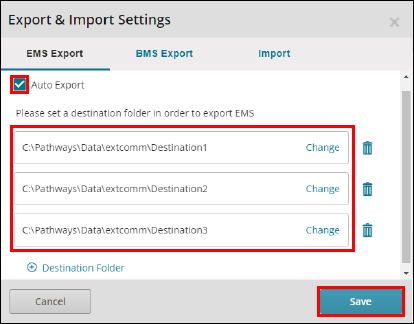
- In the Export & Import Settings window, select either the EMS Export or BMS Export tabs and configure up to ten destination folders for export.
- Verify the Auto Export checkbox is selected.
- Click Save.
- Click Done.
- Confirm that the export path is correct (C:\REPAIR PLANNER)
- Notes:
- It is recommended to create a new REPAIR PLANNER export folder for more efficient file management. However, a different/existing export folder location can be used.
- See Getting Started for more information about creating a new REPAIR PLANNER export folder.
- Your estimate data is automatically exported to the desired file location(s) when you commit the
estimate
- Notes:

Manually Export EMS
Estimate Overview
Estimate Details