Using the "Add Job" Button to Build a Work Document
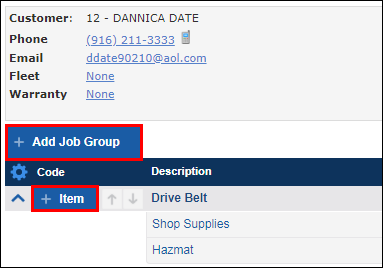
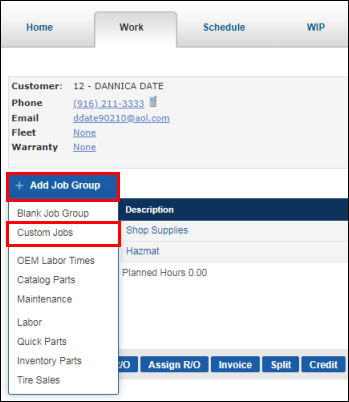
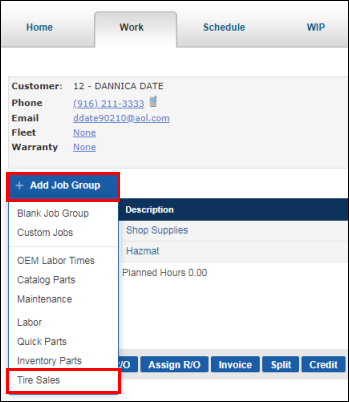
Use the "Add Job Group" button to create Job Groupings, as well as and add parts, labor, custom jobs and tires to a Work document.
- Optional: Use the + Item button to add additional items to a Job Grouping.
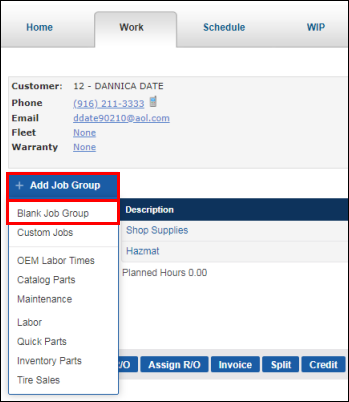
Overview of "Add Job Group" Options
Blank Job Group
Blank Job Group creates a new Job Grouping.
- Click Add Job Group >> click Blank Job Group.
- Enter a Description (name of Job Grouping) >> select a Category and Technician (optional) >> click Update.
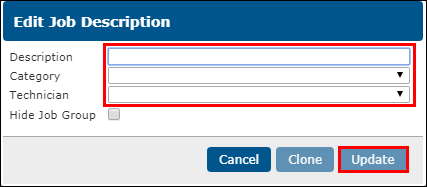
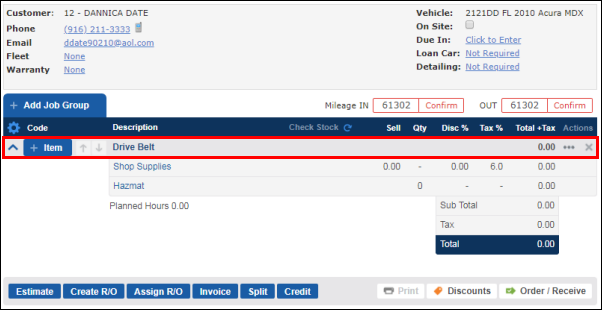
- The Job Grouping will now appear on the Work document.
Custom Jobs
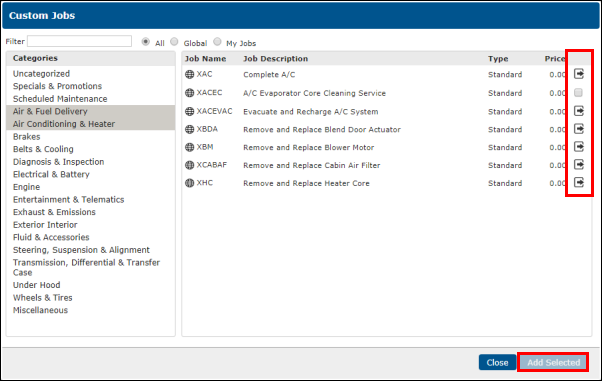
Custom Jobs opens a list of Custom Jobs that can be added to the Work document.
- Click Add Job Group >> Custom Jobs.
- To apply the Custom Job to the Work document:
- Check the box next to a job and click Add Selected, or...
- Click the arrow next to a job and choose items from the pick list in the Catalog.
- To create more jobs, see Creating and Editing Custom Jobs.
Labor
Labor opens a list of Labor lines that can be applied to the Work document.
- You may also create and edit new Labor lines.
- Click Add Job Group >> Labor.
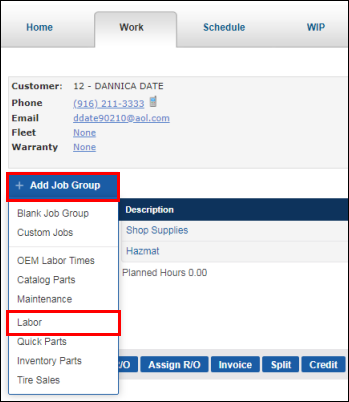
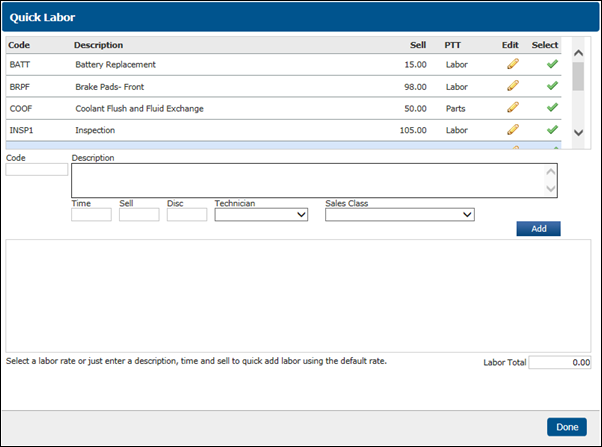
- Select or edit Labor lines to be added to the Work document.
- See Adding and Searching Labor to learn about:
- Adding labor using the default labor rate.
- Adding labor using a preset labor rate.
- Adding labor using the Parts and Labor Catalog.
- Modifying existing labor on a Work document.
- See Adding and Searching Labor to learn about:
OEM Labor Times
Labor Times opens the OEM catalog, where you can view OEM labor times for vehicle-specific repairs.
- Click Add Job Group >> OEM Labor Times.
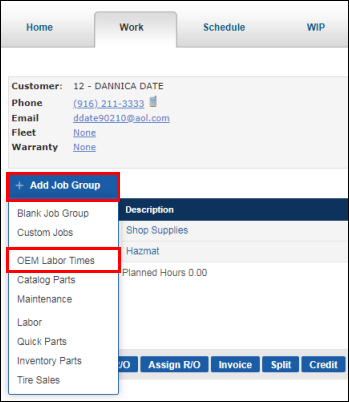
- Select from the Part Categories, or use Search to explore the OEM parts and labor catalog.
- See Using the Parts and Labor Catalog to learn more.

Maintenance
Maintenance opens the Maintenance catalog, displaying vehicle-specific maintenance schedules based on mileage.
- Click Add Job Group >> Maintenance.
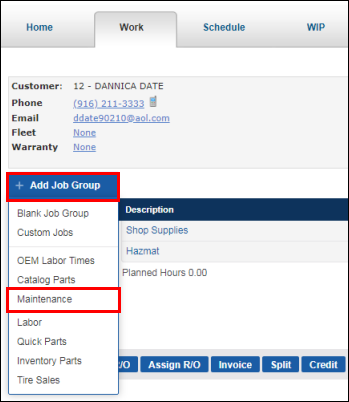
- Select Normal or Severe service >> select a Service Interval.
- See Using the Parts and Labor Catalog to learn more.

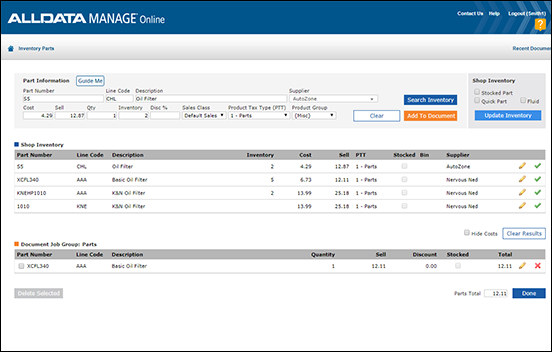
Inventory Parts
Inventory Parts opens a screen that allows you to search and enter part information that can be added to a Work document.
- Click Add Job Group >> Inventory Parts.
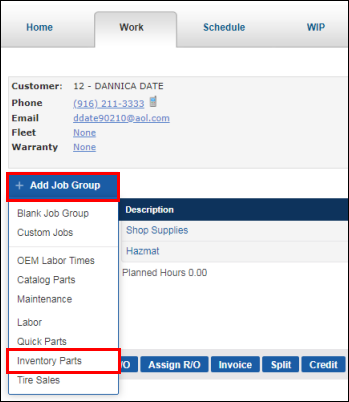
- Search, add, or edit part information to be added to the Work Document.
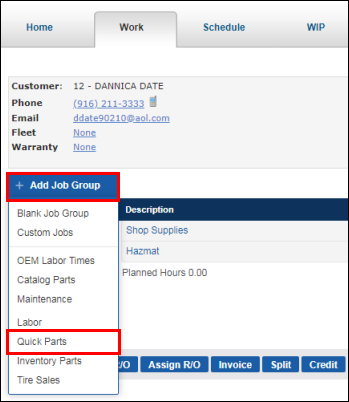
Quick Parts
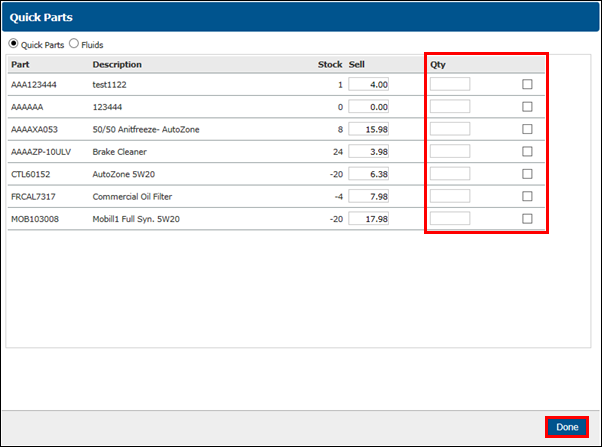
Quick Parts opens a screen listing all parts designated as Quick Parts that can be quickly added to the Work document.
- Click Add Job Group >> Quick Parts.
- Adjust the Qty (quantity) and click the check box >> click Done.
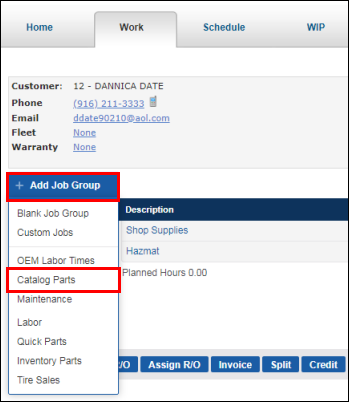
Catalog Parts
Catalog Parts opens the Electronic Parts Catalog(s).
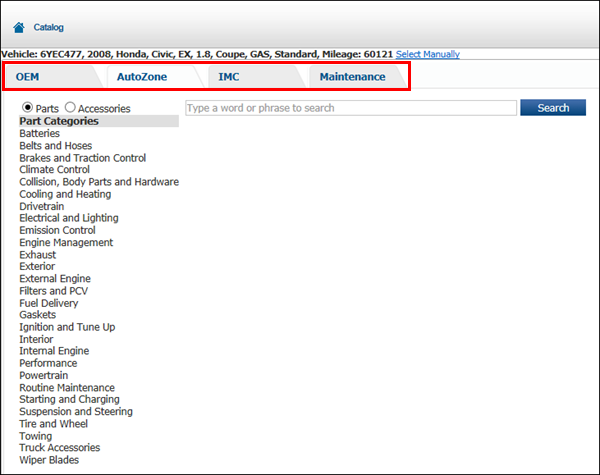
- Click Add Job Group >> Catalog Parts.
- Select the a catalog (AutoZone catalog opens automatically).
Tire Sales
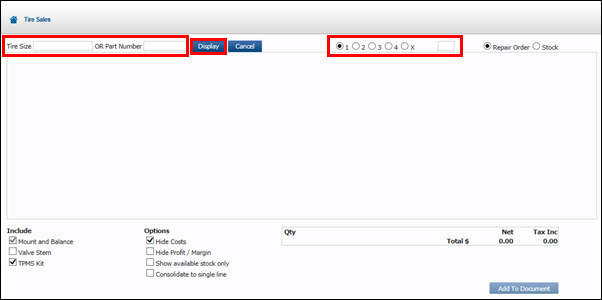
Tire Sales opens a screen that allows you to search and add tires to the Work document.
- Click Add Job Group >> Tire Sales.
- Enter a Tire Size or Part Number >> select or enter the number of tires needed >> click Display.
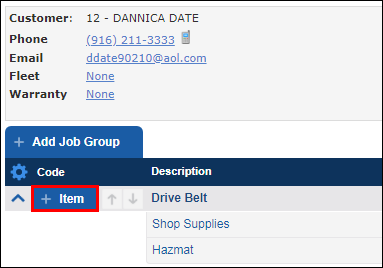
The "Add Item" Button
The + Item button is used to add items to a Job Grouping.
- From a Job Grouping, click + Item.
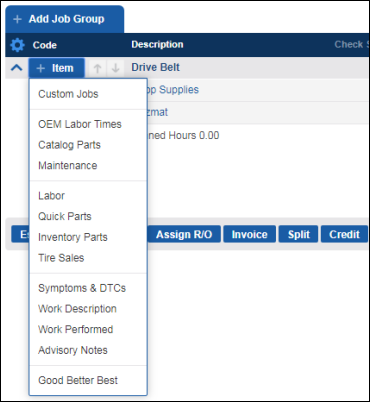
The Add Item button has most of the same options as the Add Job button. However, the Add Item button adds additional items to Job Groupings that you have already created.
- The following will be automatically assigned to the associated job when added from this menu:
- Symptoms & DTCs
- Work Descriptions
- Work Performed
- Advisory Notes
- See Adding Symptoms, DTCs and Work Descriptions and Adding Work Performed Notes.
- The following will be automatically assigned to the associated job when added from this menu: