Part 4: Adding and Searching Labor
To add or modify labor on a Work Document, follow the instructions below:
Add labor using the default labor rate
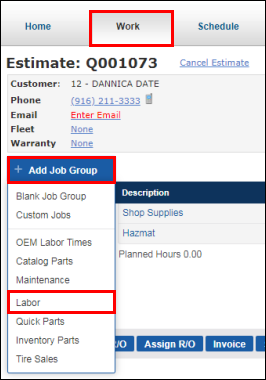
- On the Work tab, select Add Job >> Labor .
- Type in a Time and Discount (if needed) >> select a Technician and a Sales Class >> click Add >> Done.

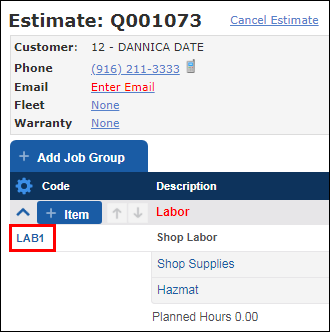
- Upon clicking Done, the labor entered will add to your Work Document under a new job grouping.
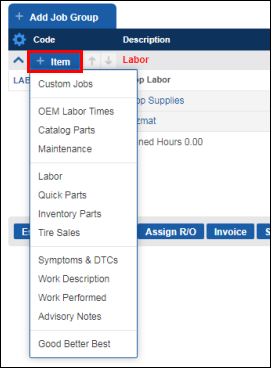
- Clicking the + icon on the job grouping provides additional options to add to the Job.
Add labor using a preset labor rate
For instructions on how to create a new preset labor rate, click HERE.
- On the Work tab, select Add Job >> Labor .
- Choose a preset labor rate by clicking the appropriate Pencil icon.

- Update the Time and Discount (if needed) >> select a Technician and Sales Class >> click Add >> Done.
- Upon clicking Done, the labor entered will add to your Work Document under a new job grouping.
- Clicking the + icon on the job grouping provides additional options to add to the Job.
Add labor using the Parts and Labor Catalog
See Using the Parts and Labor Catalog.
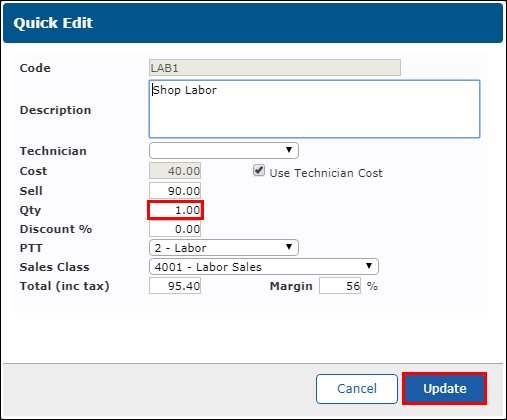
Modify existing labor on a Work document
- On the Work tab, select the labor code for the labor item that needs to be changed.
- Adjust the Qty (Quantity) >> click Update.