Skip to main content
Using the Work In Progress Screen
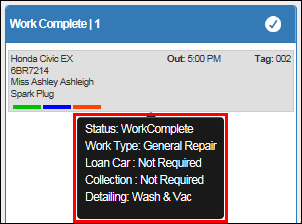
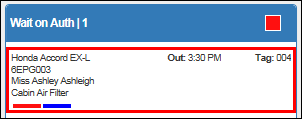
The Work in Progress (WIP) screen shows all of the active Repair Orders in a customizable, easy-to-read view.
Adding a Repair Order to the WIP Screen
Vehicles will appear on the WIP screen when:
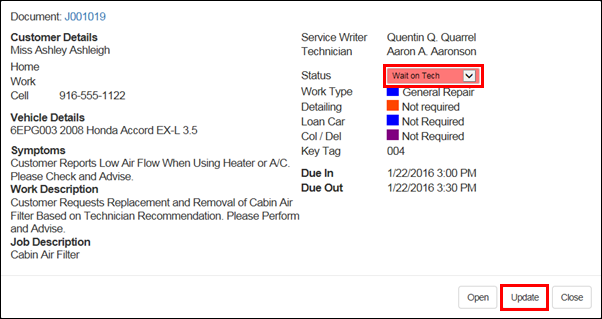
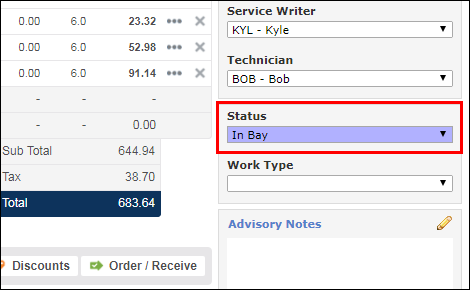
- A Status has been selected on the Repair Order.
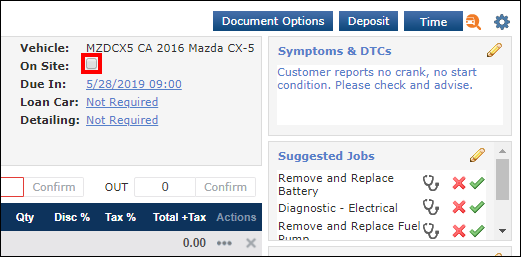
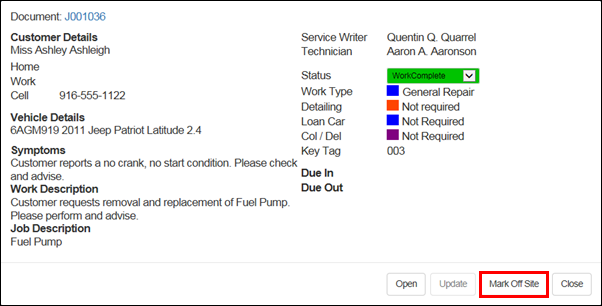
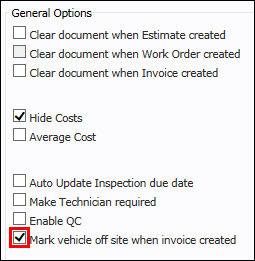
- Note: Repair Orders with status Work Complete will only display if the vehicle is marked as On Site.
- The Repair Order is booked for today.
Navigating the WIP Screen
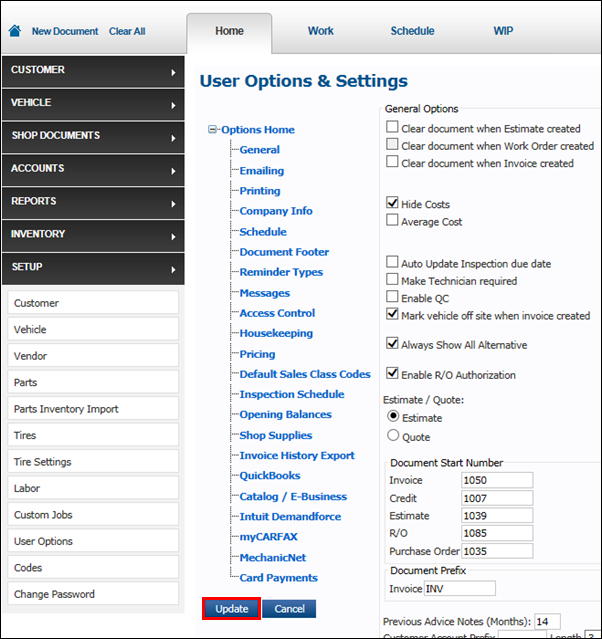
- If you haven't already, set up the WIP screen.
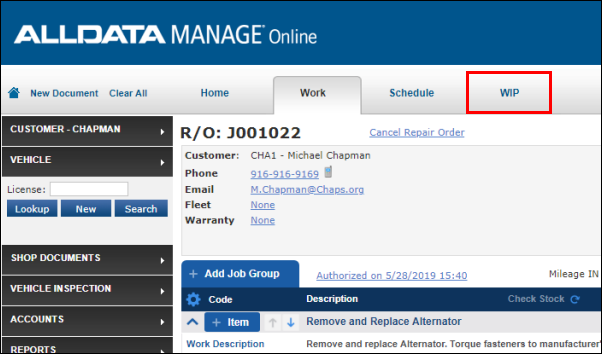
- Click the WIP tab.
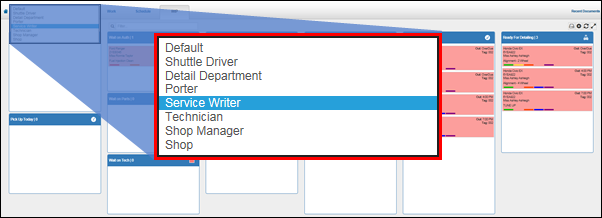
- Select the desired WIP screen from the drop-down menu.
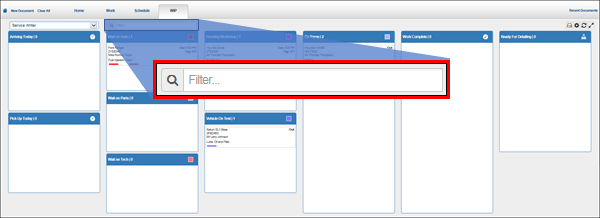
- Optional: Filter the Repair Orders that display by entering keywords.
- Examples: Customer name, vehicle type, license plate number.
- To remove the filter and display all Repair Orders on that page again, click the refresh button.

- To expand the WIP screen to the full size of the computer screen, click the toggle button.

Moving Repair Orders to a Different Status
- Click and drag Repair Orders to different Statuses.
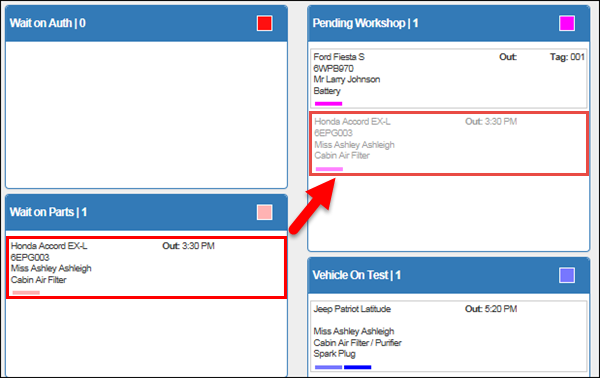
- Note: This will also change the Status on the Repair Order.
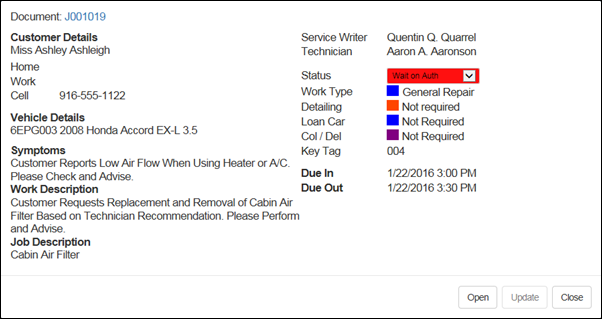
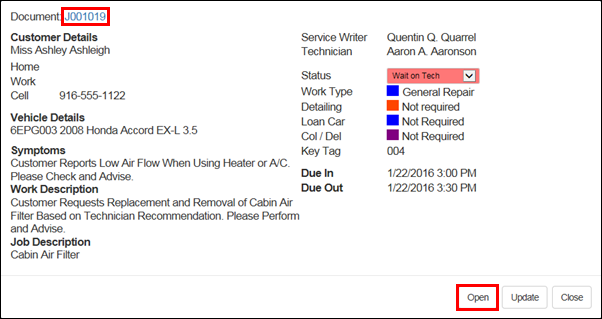
Viewing Repair Order Details
There are two ways to view Repair Order details from the WIP screen.
Removing a Work Document from the WIP Screen
To remove a Work document from the WIP Screen, the vehicle must be marked Off Site.