Part 2: Adding and Searching for a Vehicle
To add and search vehicles, follow the instructions below:
Adding the First Vehicle
- Select a customer.
- For information about adding and searching for customers, click HERE.
- If a customer was selected prior to adding the vehicle, the vehicle will be added to the customer record.
- If a customer was not selected prior to adding the vehicle, the vehicle will be assigned as a generic Cash Customer. For information on how to transfer the vehicle to the correct customer, click HERE.
- Choose one of the following:
From the Quick Setup Screen - While Adding a Customer
While adding a customer in Quick Setup...
- Select Add Vehicle.
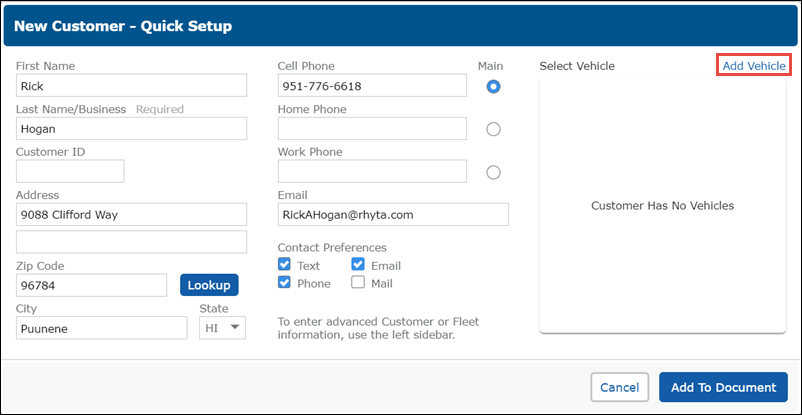
Fill in the vehicle information >> Click Add to Customer.
- License Plate and State or No Plate selection is required in order to continue.
- A License, Year, Make, Model and Sub Model (when available) must be entered to save and display the vehicle properly on the Customer screen.
- Enter the License and State to look up the VIN using QuickVIN™ by myCARFAX.
- The VIN Lookup can be used to decode the Year, Make, Model, and Sub Model of the vehicle.
- Enter the VIN or License Plate number and click Service History to view the myCARFAX service history.
- If the vehicle is not listed, click the Non ACES Vehicle check box and manually type in the Year, Make, Model and Sub Model information.
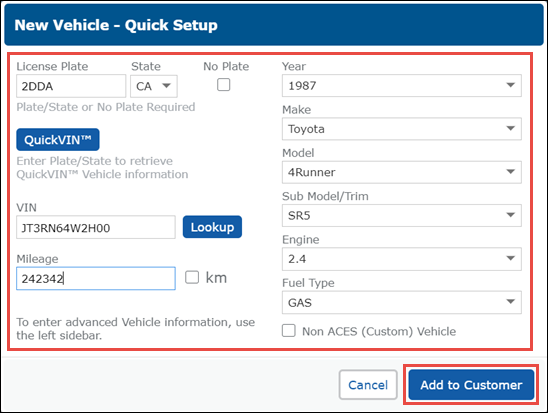
- License Plate and State or No Plate selection is required in order to continue.
From the Work Screen - Quick Setup
- Click New.
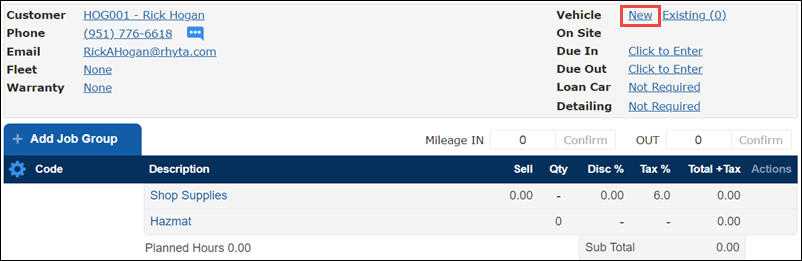
Fill in the vehicle information >> Click Add to Document.
- License Plate and State or No Plate selection is required in order to continue.
- A License, Year, Make, Model and Sub Model (when available) must be entered to save and display the vehicle properly on the Customer screen.
- Enter the License and State to look up the VIN using QuickVIN™ by myCARFAX.
- The VIN Lookup can be used to decode the Year, Make, Model, and Sub Model of the vehicle.
- Enter the VIN or License Plate number and click Service History to view the myCARFAX service history.
- If the vehicle is not listed, click the Non ACES Vehicle check box and manually type in the Year, Make, Model and Sub Model information.
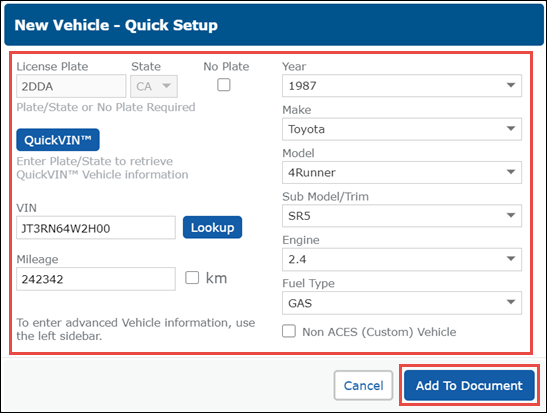
- License Plate and State or No Plate selection is required in order to continue.
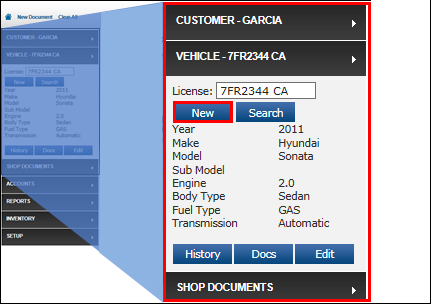
From the Vehicle Menu
- Click Vehicle >> New >> fill in the vehicle information.
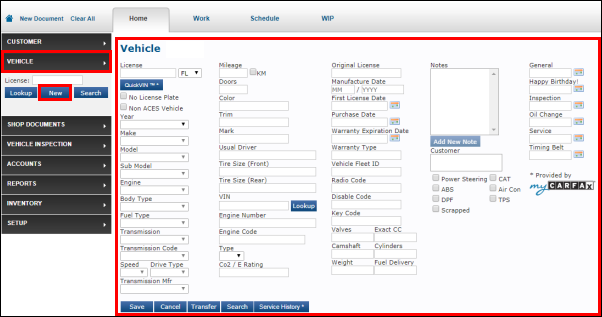
- A License, Year, Make, Model and Sub Model (when available) must be entered to save and display the vehicle properly on the Customer screen.
- Enter the License and State to look up the VIN using QuickVIN™ by myCARFAX.
- The VIN Lookup can be used to decode the Year, Make, Model, and Sub Model of the vehicle.
- Enter the VIN or License Plate number and click Service History to view the myCARFAX service history.
- If the vehicle is not listed, click the Non ACES Vehicle check box and manually type in the Year, Make, Model and Sub Model information.
- A License, Year, Make, Model and Sub Model (when available) must be entered to save and display the vehicle properly on the Customer screen.
- Click Save.
Adding Additional Vehicles
When the Work Document Already Includes Items
- Click Vehicle.
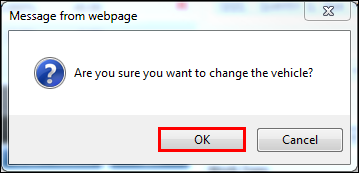
- Click the red X.
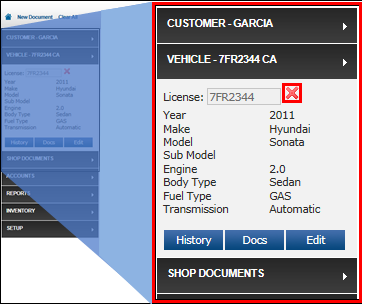
- Click OK.
- Click New.
- Enter the new vehicle information >> click Save.
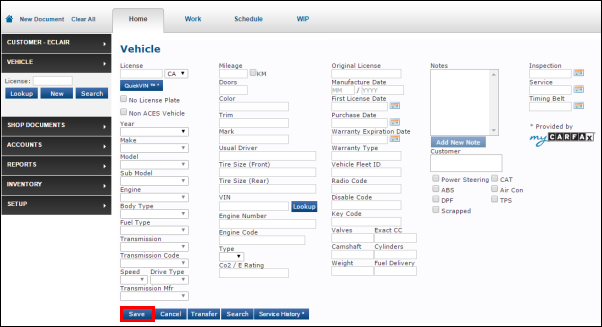
When the Work Document Does Not Include Items
- Click Vehicle.
- Click New.
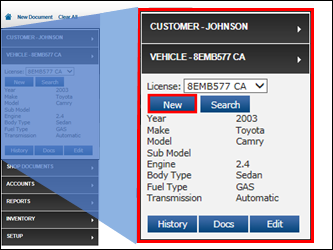
- Enter the new vehicle information >> click Save.
Searching for an Existing Vehicle
From the Vehicle Menu
For a quick license lookup:
- Click Vehicle >> type a License plate number >> click Lookup.
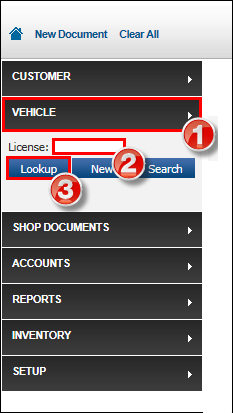
- Click Vehicle >> type a License plate number >> click Lookup.
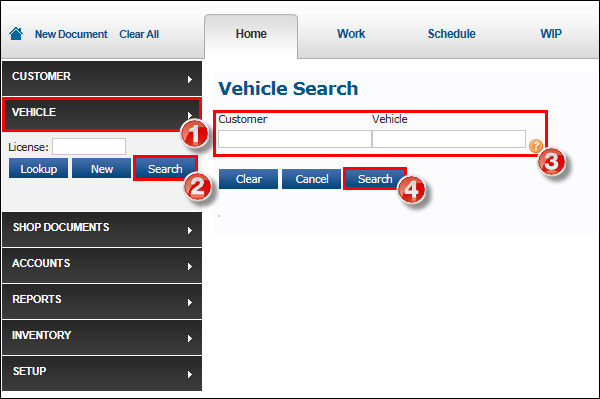
For a full vehicle search:
Click Vehicle >> Search >> fill in the required information >> click Search.
- Type % as the customer name to display all customer vehicles on file.
- Click the check mark icon for the vehicle you want to select.
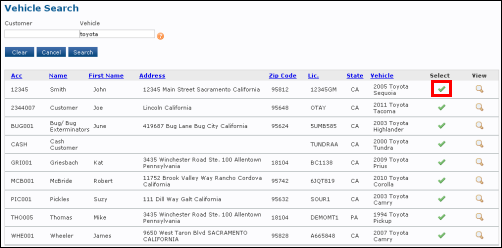
Once the vehicle is selected, the Work screen will display the selected customer and vehicle.
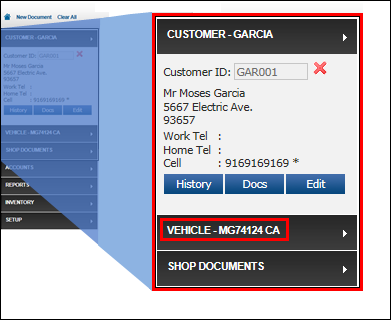
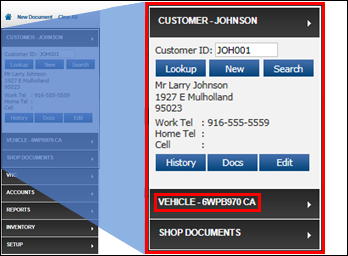
From the Customer Screen
- Select a customer.
- For information about adding and searching for customers, click HERE.
- On the Customer screen, select a vehicle from the Vehicle List.
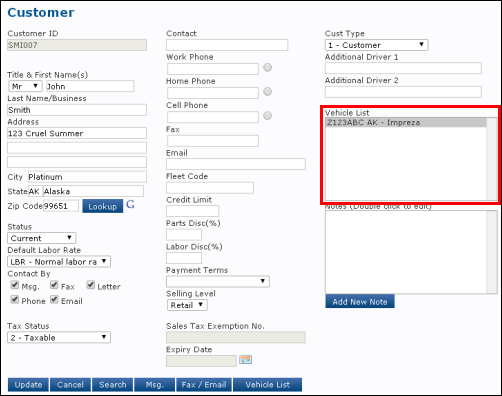
- Click the Work tab to return to the Work screen and display the selected vehicle.
Adding Detailed Vehicle Information
See Adding Detailed Customer and Vehicle Information.